🇺🇸 North American Medical Device Client | High-Precision Titanium Alloy Component Machining Case Study

Project Background

In mid-2024, we received an inquiry from a North American medical device manufacturer. This client specializes in the development and production of high-end orthopedic surgical instruments, primarily exporting to Europe and North America. They have extremely high standards for machining precision, material control, and quality systems.

The client discovered us via LinkedIn and, after learning about our capabilities in precision machining and quality control, formally expressed interest in cooperation.

The parts in this project were to be used in a new type of surgical guide for joint reconstruction. They required extremely high precision, surface treatment, and material performance stability.

Client Requirements

Following the initial inquiry and technical exchange, the client provided detailed 3D models and specification sheets for a series of titanium components. These parts were to be integrated into a next-generation orthopedic surgical guide, requiring exceptional dimensional accuracy, material stability, and medical-grade cleanliness. Below is a summary of the key technical requirements and part details:

  • Material
  • Processing Method
  • Tolerance
  • Surface Treatment
  • Sample Lead Time
  • Quantity
  • Ti6Al4V titanium alloy
  • 4-axis machining + precision milling
  • ±0.005mm (in certain fitting areas)
  • Medical-grade cleaning + passivation
  • First batch of samples delivered within 10 working days
  • 20 samples, followed by monthly batches starting at 500 pcs

Key Technical Challenges

1.Titanium Alloy Machining Difficulty – Prone to Wear & Deformation
Ti6Al4V is an α-β titanium alloy with high hardness and poor thermal conductivity, making heat dissipation during cutting difficult. This accelerates tool wear, especially in inner corners and deep pockets. Additionally, the material’s elastic recovery often causes dimensional spring-back, especially in thin-wall areas or chamfers, which can result in out-of-tolerance or micro-cracks if not properly controlled.
2. Extremely Tight Tolerances – Interference-Free Assembly Required
The part includes several mating features (guides and tolerance holes) that must be produced to within ±0.005mm to ensure “snap-fit” assembly without looseness. To achieve this, we used a temperature-controlled workshop and implemented a secondary coordinate alignment strategy to ensure multi-feature qualification in a single clamping.
3. Strict Medical-Grade Surface Cleanliness – Full Cleanroom Process Required
The client required particle residue ≤25μm in size, and total particle count to comply with ISO 7 standard (≥0.5μm). We implemented triple-filtered water for cleaning/passivation and used medical-grade lint-free cloths and alcohol for final wiping. All packaging was completed in a cleanroom rated at Class 100,000 or better.
4. Time Zone Difference – Real-Time Communication Difficulties
Located on the US East Coast (12 hours behind us), delays in email response could mean waiting another 24 hours for feedback. We established a dedicated communication window, processing all technical emails by 5 PM our time to ensure the client had responses by the start of their business day.
5. Tight Lead Time – Seamless Coordination Required
With only 10 working days to complete the full process (material prep, programming, machining, surface treatment, quality inspection, and packaging), we implemented concurrent workflows—e.g., material testing and production scheduling during programming—to compress cycle time and ensure delivery on day 9, shipment on day 10.

Challenges & Solutions

Our Solution

After receiving the 3D CAD models and technical requirements, we held a project kickoff meeting the same morning. The team included the project manager, programming engineer, production supervisor, quality manager, and surface treatment coordinator.
We back-calculated from the sample delivery deadline and established 7 key execution nodes, each with a responsible owner and deadline

We secured ASTM F136-certified Ti6Al4V bars (Ø30mm × L300mm) from Baoji. Spectral analysis was conducted upon receipt, and laser-etched batch numbers were applied for full traceability. Material certificates were archived for the client’s quality documentation

The programming engineer completed the toolpath design by Day 2, using zoned machining strategies for complex surfaces. For ±0.005mm tolerance areas, we adopted a 3-stage strategy: roughing + finishing + single-side corner cleanup. All paths were simulated to avoid overcutting. A total of 6 tools were used, including 4 custom small-diameter carbide end mills (as small as Φ0.6mm)

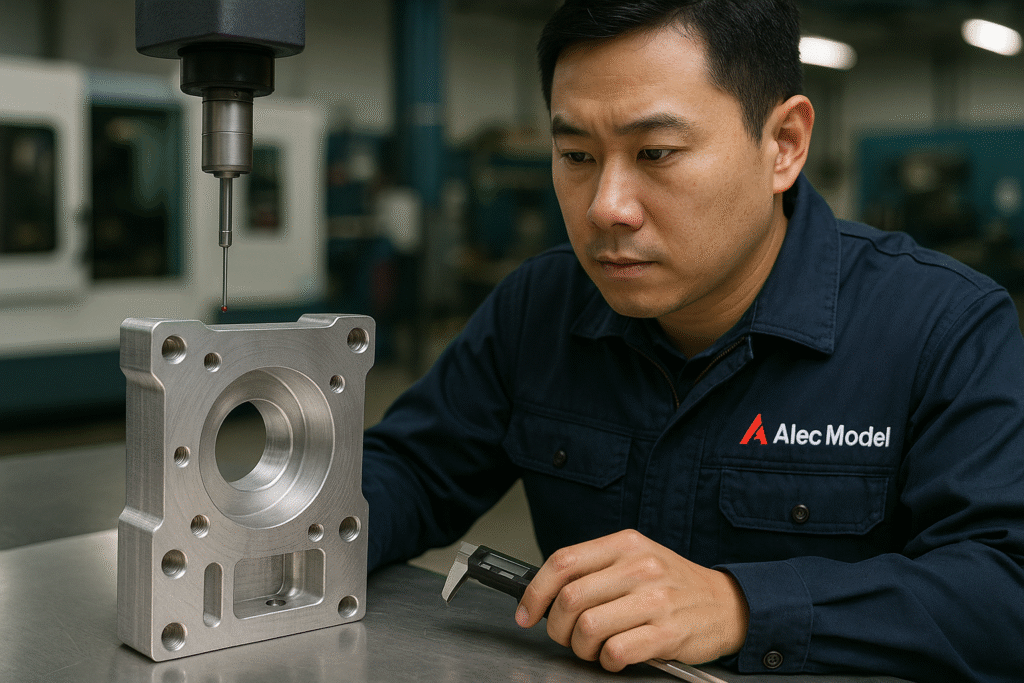
We used the MAZAK VCN-430 4-axis machining center in a temperature-controlled zone (±0.5°C) and paired it with Renishaw tool setting and automatic zeroing systems. The first two pieces were used for process validation, with full video documentation and tool life monitoring to ensure batch consistency

Collaborated with a dedicated medical device surface treatment facility to insert the order into the priority line. The process included: ultrasonic cleaning → acid passivation → secondary DI rinse, followed by ISO 7-grade particle count testing

100% inspection of all critical dimensions was conducted using Zeiss CMM and Nikon optical comparator. For the key fitting areas, tolerance fluctuations were controlled within ±0.003mm, and full SPC records with inspection reports were included. On Day 9, all parts were labeled, bagged, and compliance declarations prepared and uploaded to the client’s portal

On Day 10 morning, samples were shipped via DHL with complete test reports and cleaning certifications

Emory
Emory Within a week of receiving the samples, the client sent the following confirmation:
“This is exactly what we expected. Clean, precise, and consistent. Your team did an excellent job—please proceed with production.”
Emory
Emory Before final delivery, we proactively shared inspection reports and process photos, earning praise such as
“From project initiation to delivery, every step was well organized and communication was highly efficient.”

Future Collaboration

In the second week after sample approval, the client launched the small-batch order—500 pcs delivered in two batches. Two process engineers were assigned to directly coordinate batch production with us, covering traceability, documentation format, and labeling requirements. We helped establish standardized batch structures and implemented monthly check-in meetings to synchronize supply plans and issue resolution.

To date, we’ve delivered 5 consecutive batches with no major quality issues. Client satisfaction remains high, and we’ve been invited to participate in the development of parts for two additional medical device platforms—discussions are expected next quarter.

The client especially recognized our strengths in

The client was particularly impressed by our tool configuration and temperature-controlled workshop setup. They had previously encountered heat deformation issues with another Asian supplier. We resolved this using custom tooling and low-speed, high-rigidity cutting.

We also provided a bilingual DFM (Design for Manufacturing) report at the project’s start, offering practical and professional suggestions (e.g., chamfer radius adjustment), which the client’s engineer described as “very helpful and professional.”

Project Summary

This project demonstrated our expertise in machining difficult materials like titanium alloys, our mastery of ISO 13485 medical quality standards, and our capability to efficiently coordinate with international engineering teams. From first contact to batch delivery took less than three months. The client was highly satisfied with our response time, professionalism, and quality consistency, naming us a strategic supplier in their global medical supply chain.

Facebook
Twitter
LinkedIn